Building a Temperature Converter App using HTML, CSS, and JavaScript
How to build a temperature converter app using HTML, CSS, and JavaScript
A temperature converter is a tool used to convert temperatures, to and from Celsius, Fahrenheit, and Kelvin.
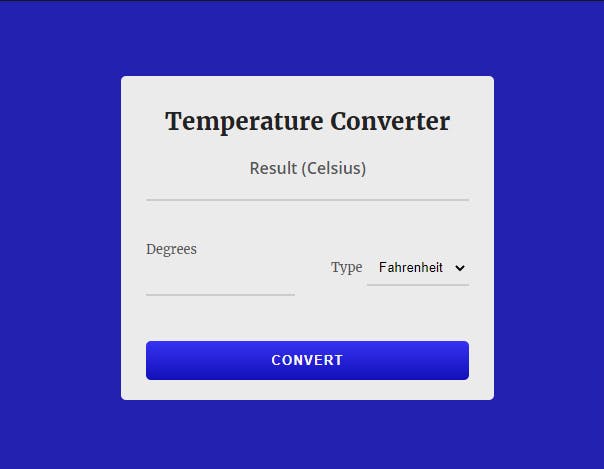
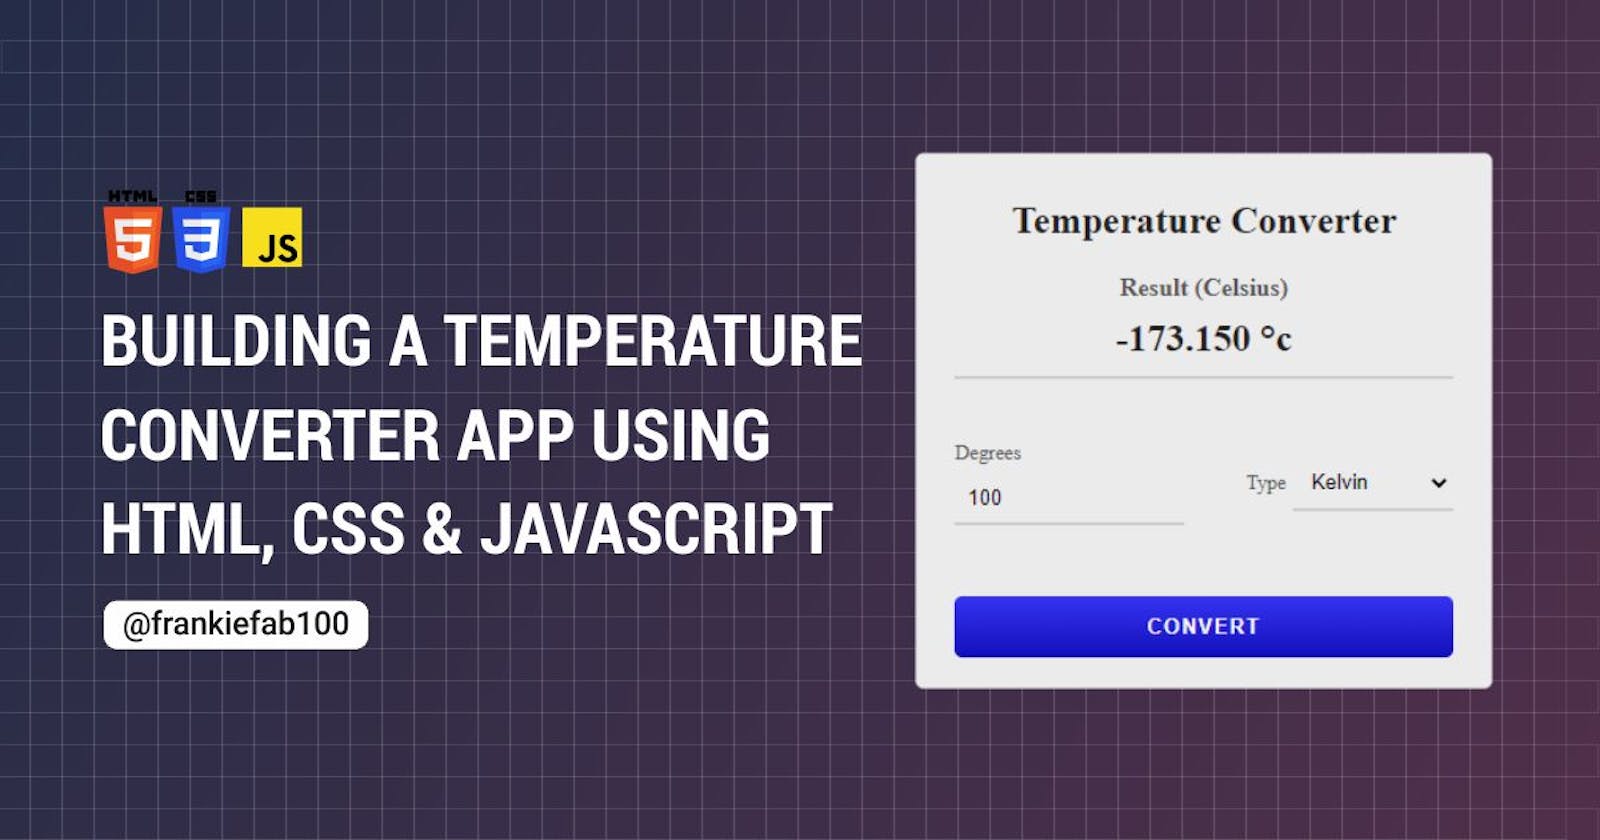
In this article, we will learn how to build a temperature converter application using HTML, CSS, and JavaScript. Here’s a screenshot of what the finished application looks like:

Prerequisites
- Basic understanding of HTML, CSS, and JavaScript.
Getting Started
Our temperature converter project contains three parts: HTML, CSS, and JavaScript. We will be creating these three files in a folder named "Temperature Converter."
HTML
Open your code editor, create an index.html file, and enter the following markup:
<!DOCTYPE html>
<html lang="en">
  <head>
    <meta charset="UTF-8" />
    <meta http-equiv="X-UA-Compatible" content="IE=edge" />
    <meta name="viewport" content="width=device-width, initial-scale=1.0" />
    <!--LINK CSS FILE-->
    <link rel="stylesheet" href="style.css" />
    <title>Temperature Converter App</title>
  </head>
  <body>
    <div class="container">
      <div class="temperature-converter">
          <h1 class="title">Temperature Converter</h1>

          <div class="result">
            <span class="result-heading">Result (Celsius)</span>
            <h2 class="celsius-value" id="celsius"></h2>
          </div>

          <div class="degree-type">
            <div class="degree-field">
              <label for="degree">Degrees</label>
              <input type="number" name="degree" id="degree" />
            </div>

            <div class="temp-field">
              <label for="temp-type">Type</label>
              <select name="temperatures" id="temp-type" autocomplete="on">
                <option id="fahrenheit" value="fahrenheit">Fahrenheit</option>
                <option id="kelvin" value="kelvin">Kelvin</option>
              </select>
            </div>
          </div>

          <button id="convert-btn">Convert</button>
      </div>
    </div>
    <!--LINK JAVASCRIPT FILE-->
    <script src="./script.js"></script>
  </body>
</html>
Ensure you correctly link the CSS and JavaScript files in the HTML markup:
<link rel="stylesheet" href="style.css" />
<script src="./script.js"></script>
A few notes:
The index.html contains a div with the class name of temperature-converter which is the parent container of our app.
resultdisplays converted Celsius value.degree-fieldreceives number as input.temp-fieldreturns a Fahrenheit or Kelvin temperature based on the entereddegree-field.convert-btnexecutes computation of temperature values based on data.
Ensure that the
forattribute value in <label> matches theidvalue in <input /> tag. For example:<label for="degree"> <input id="degree" />
CSS
Then, create a style.css file. Here, you're going to add CSS styling to the temperature converter app. First, let's remove the default browser styling by adding:
* {
  box-sizing: border-box;
  margin: 0;
  padding: 0;
}
Next, let's change the style of the body element and align the child components:
body {
  background-color: #2321af;
  color: #222;
  font-size: 1rem;
  display: flex;
  justify-content: center;
  align-items: center;
  width: 100vw;
  height: 100vh;
}
Below are the complete CSS styles for our project:
/*style.css */
* {
  box-sizing: border-box;
  margin: 0;
  padding: 0;
}

body {
  background-color: #2321af;
  color: #222;
  font-size: 1rem;
  display: flex;
  justify-content: center;
  align-items: center;
  width: 100vw;
  height: 100vh;
}

.title {
  color: #222;
  font-size: 1.5rem;
  text-align: center;
}

.temperature-converter {
  background: #ecebeb;
  border-radius: 5px;
  position: relative;
  display: flex;
  flex-direction: column;
  justify-content: center;
  padding: 30px 25px 20px;
  min-width: 320px;
  width: 100%;
  height: auto;
}

.result {
  text-align: center;
  margin: 20px 0;
}

.result-heading {
  color: #555;

  font-size: 1rem;
  font-weight: 600;
}

.celsius-value {
  border-bottom: 2px solid #ccc;
  padding: 10px;
}

label {
  color: #555;
  font-size: 0.8rem;
  margin-bottom: 5px;
}

input,
select {
  background: transparent;
  border: none;
  outline: none;
  border-bottom: 2px solid #ccc;
  padding: 8px;
  margin-bottom: 15px;
}

input:focus {
  border: 1px solid #4c49f3;
}

.degree-type {
  display: flex;
  justify-content: space-between;
  align-items: center;
  padding: 20px 0;
}

.degree-field {
  display: flex;
  flex-direction: column;
  width: 46%;
}

option {
  background-color: #3c39e7;
  color: #f6f6f6;
}

#convert-btn {
  background: linear-gradient(to bottom, #3633f3, #120fb9);
  border: none;
  outline: none;
  border-radius: 5px;
  color: #f6f6f6;
  cursor: pointer;
  font-weight: bold;
  letter-spacing: 1px;
  text-transform: uppercase;
  margin-top: 10px;
  padding: 12px 80px;
  transition: all 0.3s ease-in;
}

#convert-btn:hover {
  background: linear-gradient(to bottom, #4a47e7, #322fda);
}
That concludes the CSS section; let's move on to script.js and begin adding logic to our tip calculator to make it functional.
JavaScript
Create a script.js file in the same root directory of our project.
Let's target the HTML elements required to make this web app functional. Using the querySelector method assign the following tags to their respective variables:
let inputElems = document.querySelectorAll("input[type='number']");
const bill = document.querySelector("#bill");
const tip = document.querySelector("#tip-percentage");
const total = document.querySelector("#totalOutput");
const numberOfPersons = document.querySelector("#persons");
const calculateBtn = document.querySelector(".calculate-btn");
To convert temperatures in degrees Fahrenheit to degrees Celsius, subtract 32 and multiply by .5556 (or 5/9) using the mathematical formula:
(0°C × 9/5) + 32 = 32°F
To convert temperatures in Kelvin to degrees Celsius, subtract 273.15 from the Kelvin value using the mathematical formula:
C = K - 273.15
Let's discuss everything step by step:
Step 1: Create a function named "convertToCelsius".
The convertToCelsius() function contains all the code for the working of the app
In this function, we will compute temperature values in Celsius from degrees Fahrenheit or Kelvin.
function convertToCelsius() {
{
  //code to be executed
}
Step 2: Add event handlers to the convertToCelsius() function.
The event listeners call the convertToCelsius() function when we click on the ConvertBtn Html element.
convertBtn.addEventListener("click", (e) => {
  e.preventDefault();
  convertToCelsius();
});
Below is the event handler that clears all the inputs on load.
window.addEventListener("load", () => {
  degree.value = "";
  celsiusElem.innerHTML = "";
});
Step 3: Compute Celsius temperature degree
We will obtain the value for our degree value input using the document.querySelector method and .value attribute.
let inputValue = degree.value;
The if/else statement converts the degree values to Celsius based on the selected temperature types - Fahrenheit or Kelvin using their respective mathematical formulas.
 if (tempType.value === "fahrenheit") {
    const FahrenheitToCelsius = (inputValue - 32) * (5 / 9);
    celsiusElem.innerHTML = `${FahrenheitToCelsius.toFixed(3)} °c`;
  } else if (tempType.value === "kelvin") {
    const KelvinToCelsius = inputValue - 273.15;
    celsiusElem.innerHTML = `${KelvinToCelsius} °c`;
  }
Now, we will be able to insert the result of the conversion inside the <div> with the class name celsiusElem using the innerHTML property. The .toFixed(3) approximate the value to 3 decimal places.
Here's what the complete JavaScript code should look like:
// script.js
const celsiusElem = document.querySelector("#celsius");
const degree = document.querySelector("#degree");
const convertBtn = document.querySelector("#convert-btn");
const tempType = document.querySelector("#temp-type");

window.addEventListener("load", () => {
  degree.value = "";
  celsiusElem.innerHTML = "";
});

convertBtn.addEventListener("click", (e) => {
  e.preventDefault();
  convertToCelsius();
});

function convertToCelsius() {
  let inputValue = degree.value;

  if (tempType.value === "fahrenheit") {
    const FahrenheitToCelsius = (inputValue - 32) * (5 / 9);
    celsiusElem.innerHTML = `${FahrenheitToCelsius.toFixed(3)} °c`;
  } else if (tempType.value === "kelvin") {
    const KelvinToCelsius = inputValue - 273.15;
    celsiusElem.innerHTML = `${KelvinToCelsius.toFixed(3)} °c`;
  }
}
Voila! You have just created a temperature converter app.
Conclusion
Now that you've made it to the end of this project, you have a temperature converter web application right in your web browser. The source code is available in this Codesandbox.
If you found this article helpful, do check out other amazing content on my blog.

